The birth of an idea
A few years ago, Jordi Parra presented his idea of the Spotify Box.
During the summer 2015, Sébastien Barbier presented me the project and ask me to draft a first implementation with him. We came up with the mpd-box and organized a great karaoke session based on its features.
In the meantime, in August 2016 Lunii launched a box: My Fabulous Storyteller that was offered to one of my collegue children.
When I saw how friendly, fun, and playful it was, I had no stop to wish working on that project again. The Hackaton organized at the IMT Atlantique Incubator in Rennes this fall was a great opportunity to scratch that itch again.
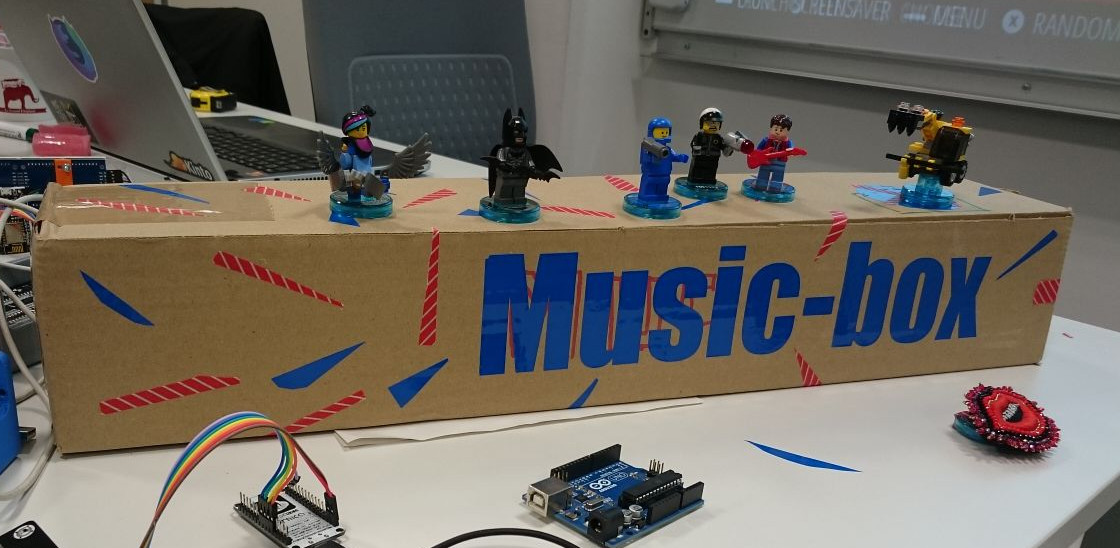
The idea is to create a new way to interact with your music. Once setup, just grab a tag and start listening to it without having to navigate a screen interface. Remove it, and it will stop.
This can be useful for when you cannot touch a screen because of wet or dirty hands (cooking, plowing, taking a shower or fixing you car).
It can be useful also to prevent children using a screen just before going to sleep or for blind or short-sighted people to play music easily.
The Hardware we used to build the prototype
We needed three parts:
- A small computer able to read the music files in some speaker
- A small NFC reader able to detect new tags and their removal
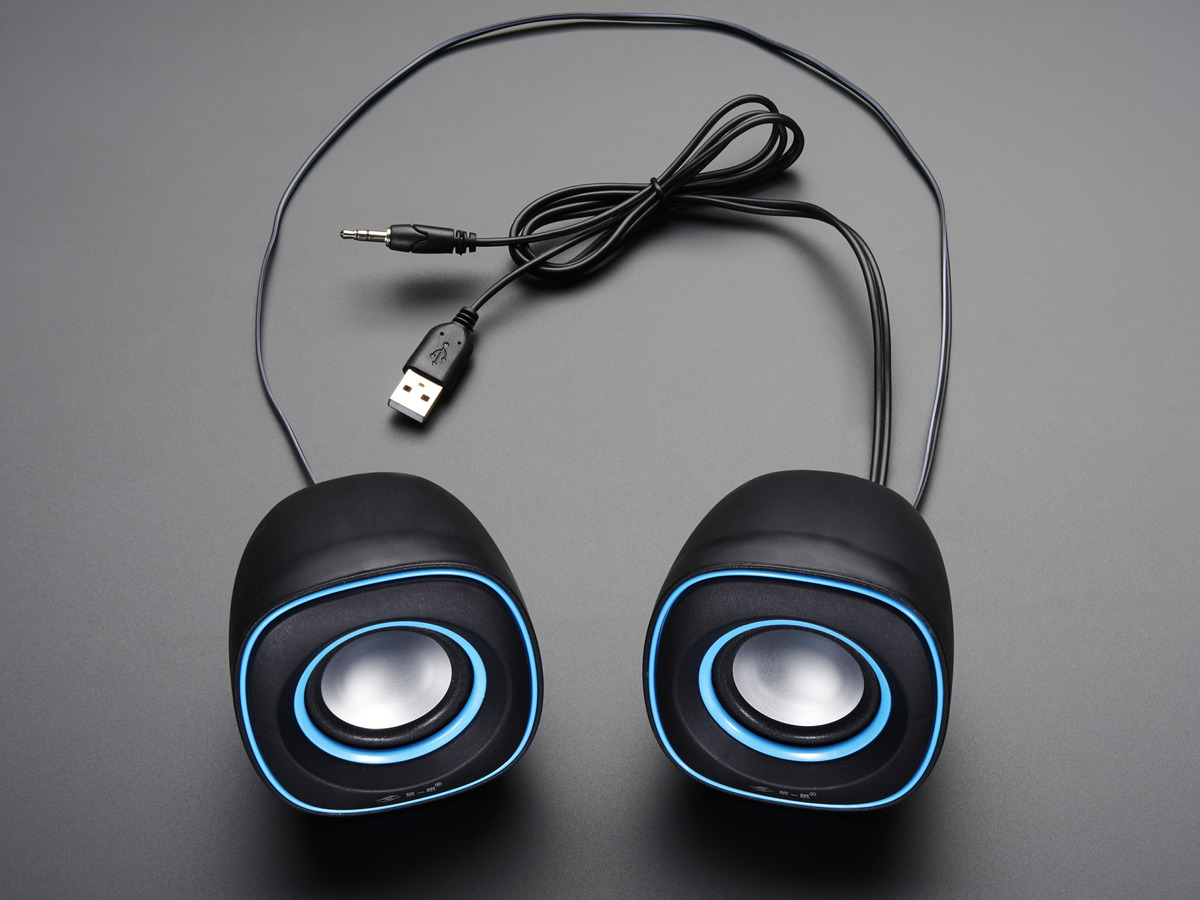
- USB powered speakers
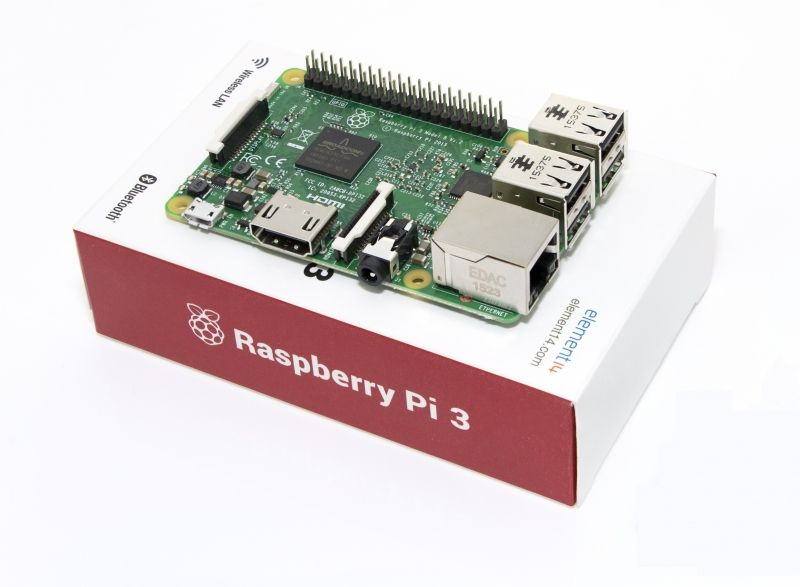
For the former we used a Raspberry Pi 3 with Raspbian installed on it and a little Python script listening to the serial port.
For the later we used an arduino with an AdaFruit PN532 NFC/RFID Controller Shield for the Arduino Uno.
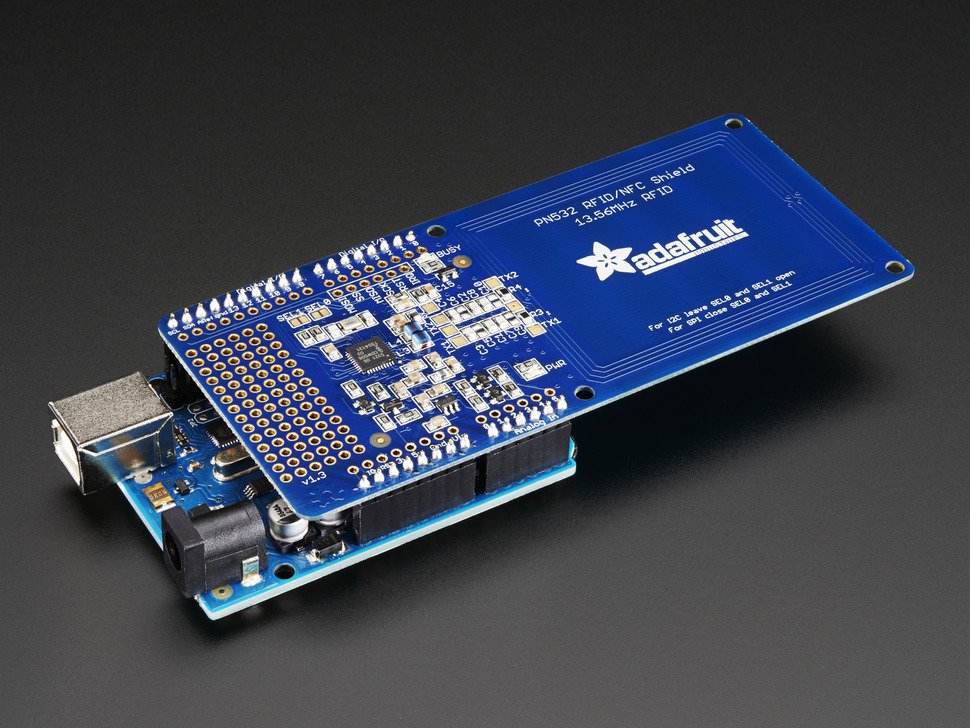
In the MPD-Box project Sébastian used directly a Rasberry Explore NFC Board. In our case we had NFC card reader boards for Arduino and we wanted something modular so that we could reuse the NFC reader for other kind of projects.
Using USB powered speakers let you have only one power cable to power the Raspberry Pi and then plug both the speakers and the Arduino via USB.
Software stack
Configure the Raspberry Pi Wifi and SSH access
To configure the Raspberry Pi, I plugged a HDMI screen and a USB keyboard.
I installed Raspbian on the SDCard and then started the computer.
The default user is pi and the password is raspberry.
The protip is to type the password in the username field to make sure
you type it correctly (especially with an azerty keyboard) and then use
ctrl+U to cut it, enter the pi username, press enter and then use
ctrl+Y to paste the password and then press enter to validate it.
Configure wifi
Add the credentials for your wifi in the wpa_supplicant config file:
$ sudo su  # To grab root access
# wpa_passphrase "SSID" "WifiPassword" >> /etc/wpa_supplicant/wpa_supplicant.conf
# service networking restart
You can get your IP address by using:
$ ifconfig | egrep 'inet '
        inet 127.0.0.1  netmask 255.0.0.0
        inet 192.168.43.179  netmask 255.255.255.0  broadcast 192.168.43.255
Here my IP address is 192.168.43.179
Configure SSH daemon
# update-rc.d ssh defaults
# update-rc.d ssh enable
Give access to the /var/lib/mpd/music repository to pi
# chown -R mpd:audio /var/lib/mpd/music
# chmod g+ws -R /var/lib/mpd/music
You can know use FileZilla to upload some files in the
/var/lib/mpd/music repository using the pi user.
scp music.mp3 pi@192.168.43.179:/var/lib/mpd/music/
Music Player daemon
To store playlists and play them we decided to use Music Player Daemon.
It has multiple benefits:
- It is well integrated with Raspbian
- It starts automatically as a daemon at startup
- It know how to play various kinds of files and URLs
- It can be remotely controlled and managed through the wifi connection of the Raspberry.
Each tag ID is unique and we decided to use them as MPD playlist names.
How to install MPD on the Raspberry Pi
sudo apt install mpd
How to configure MPD?
- Put all the music you want on the SDCARD in the MPD Music folder
- You the network and Sonata to configure the playlist you want.
- Name the playlist with the tag ID
Tag reader code on the Arduino
The last version of the Tag reader code can be found on the dedicated Github repository
- At startup you initialize the Serial port and the PN532 board
// Adafruit lib to drive the NFC Shield
#include <Adafruit_PN532.h>

// If using the breakout or shield with I2C, define just the pins connected
// to the IRQ and reset lines.  Use the values below (2, 3) for the shield!
#define PN532_IRQ   (2)
#define PN532_RESET (3)  // Not connected by default on the NFC Shield

// Or use this line for a breakout or shield with an I2C connection:
Adafruit_PN532 nfc(PN532_IRQ, PN532_RESET);

int inByte = 0; // incoming serial byte

void setup() {
  // put your setup code here, to run once:

  Serial.begin(115200);

  // NFC reader initialization
  nfc.begin();

  uint32_t versiondata = nfc.getFirmwareVersion();
  if (! versiondata) {
    Serial.print("Didn't find PN53x board");
    while (1); // halt
  }
  // Got ok data, print it out!
  Serial.print("Found chip PN5"); Serial.println((versiondata >> 24) & 0xFF, HEX);
  Serial.print("Firmware ver. "); Serial.print((versiondata >> 16) & 0xFF, DEC);
  Serial.print('.'); Serial.println((versiondata >> 8) & 0xFF, DEC);

  // configure board to read RFID tags
  nfc.SAMConfig();
}
- In the loop, you can periodically read the NFC tag with a timeout to detect case where the tag has been removed from the reader.
#define TIMEOUT 100
uint8_t currentUid[] = { 0, 0, 0, 0, 0, 0, 0 };  // Buffer to store the current UID

void loop() {
  uint8_t success;
  uint8_t uid[] = { 0, 0, 0, 0, 0, 0, 0 };  // Buffer to store the returned UID
  uint8_t uidLength;                        // Length of the UID (4 or 7 bytes depending on ISO14443A card type)

  // Wait for an ISO14443A type cards (Mifare, etc.).  When one is found
  // 'uid' will be populated with the UID, and uidLength will indicate
  // if the uid is 4 bytes (Mifare Classic) or 7 bytes (Mifare Ultralight)
  success = nfc.readPassiveTargetID(PN532_MIFARE_ISO14443A, uid, &uidLength, TIMEOUT);


  if (!compare(uid, currentUid)) {
    printTag(uid);
    copy(uid, currentUid);
  }
}

bool compare(uint8_t * uid1, uint8_t * uid2) {
  for (int i = 0; i < 7; i++) {
    if (uid1[i] != uid2[i]) {
      return false;
    }
  }
  return true;
}

void copy(uint8_t * uidSource, uint8_t * uidTarget) {
  for (int i = 0; i < 7; i++) {
    uidTarget[i] = uidSource[i];
  }
}

void printTag(uint8_t * uid) {
  for (int i = 0; i < 7; i++) {
    Serial.print(uid[i], HEX);
  }
  Serial.print("\n");
}
- It will send the tag ID when a new tag is put on top of the reader
- It will send 0000000 when the tag is removed
- It will send
TIMEOUT!when nothing can be read.
Serial daemon on the Raspberry Pi
Then we use a Python script in the Raspberry Pi that will read the Serial port and send command to MPD with regards to the tag info.
The last version of the code can be found on Github:
import re
from serial import Serial
from mpd import MPDClient

SERIAL_PORT = "/dev/ttyACM0"
BAUDRATE = 115200
MPD_HOST = "localhost"
MPD_PORT = 6600

IS_TAG = re.compile("^[0-9A-F]+$")  # Detect if what we read is a valid tag ID.

client = MPDClient()

with Serial(port=SERIAL_PORT, baudrate=BAUDRATE, timeout=1, writeTimeout=1) as serial_port:
    if serial_port.isOpen():
        previous_line = None
        while True:
            line = serial_port.readline()
            line = line.decode().strip()
            if not IS_TAG.match(line):
                continue

            if line == '0000000':
                action = "stop"
            else:
                action = "play"

            if action is not None:
                try:
                    client.connect(MPD_HOST, MPD_PORT)
                    if action == "stop" and previous_line:
                        print("Stopping", previous_line)
                        client.stop()
                        previous_line = None
                    elif action == "play":
                        print("Starting", line)
                        client.clear()
                        client.load(str(line))
                        client.play(0)
                        previous_line = line
                except Exception as e:
                    print('Error', e)
                finally:
                    client.close()
                    client.disconnect()
- The script needs two dependencies:
sudo pip install pyserial python-mpd2 - To start the script at startup you can add this line at the end of
/etc/rc.local:
python /home/pi/raspberry-service/serial/daemon.py > /var/log/serial.log &
Conclusion
You can now plug the Raspberry Pi and once Raspbian started you can play the music automatically by selecting the tag.
You can use Sonata on 192.168.43.179:6600 to manage your playlist.
You can look at the tag ID by looking in /var/log/serial.log